31.7.11

Sunday morning sewing

Saturday is clean-the-house day around here.  Often, I just shut the sewing room door and ignore it.  This week, I left it open.  Which meant I could wake up on Sunday morning with clear floors, a clear conscience and time to do those oft neglected non-sewing activities.  But the lure of the clear sewing room was too strong.  It would be easy to duck in there and whip up a quick project before my kids had the pancakes on the table.

When I looked up the link for the Eileen Fisher site in my last post, I stopped for a look around.  This project is not a copy of one of her garments, but it was inspired by the feel of her collections.  I started with an OOP Vogue pattern (from 2004) for a raglan sleeved shirt with a wide neckline.

 
My fabric was a cotton sweater knit that I ordered online.  Initially I was disappointed, because it was heavier than I expected and it doesn't have great recovery, but I wore it all yesterday and it was comfy.

 
I cut the back and sleeves as per the pattern.  For the front, I wanted to create a bit of a cowl, but I just wanted to add the extra fabric in the top half, so I first cut the bottom half as per normal (that is not bad cutting...that is me grading out to a Sz 14).

Then I pivoted the pattern to create extra room for the cowl.

I didn't want a very deep cowl.  I also hadn't decided whether to sew the cowl as normal, or have it hang to the outside, or gather up the sides a bit etc.  It was all a bit experimental.


I then sewed the top, except for where the upper part of the front attaches to the seams, so that I could play around with it a bit and decide what I wanted.

I used a blind hem on the bottom and sleeves.  The back and side neckline was finished with woven bias tape, so that the top would not stretch off my shoulders.


Goes nicely with my pajamas and  the remnants of the previous nights' eyeliner, doesn't it.  Don't worry, I'll show you the dress that went with the eyeliner in the next post.

29.7.11

Racerback

I do like the look of a racer back.  I have not worn racer back styles though, because it annoys me when bra straps show (how outmoded of me!).  I have tried bras with straps that hook together at the back and ones where the straps change positions, but they still seemed to cross at the wrong place.  Then, a couple of months ago I saw a racer back bra in a magazine..it was a bit of a light bulb / "oh derrrr" moment for me.

So, using the cups from my previous pattern, I set about to make a racer back bra.  I substituted a front opening design for the bridge piece (for one bra I used the opening from Elan 540, for the other I used the piece from Pin-Up Girls Sharon bra).  I took the back piece and split it in two.  I could have made the entire back piece out of powernet, but when you buy a bra kit, often the powernet is not wide enough to cut a back piece on the fold.  This is why I split the pattern and made the centre back piece out of the same fabric as the cups. I actually cut a dart out ,rather than just split the pattern.  I just guessed the width of the dart.  I added some width to made up for the fact that the centre back was not stretchy.


This was my first attempt.  When I tried it on under a shirt, the racerback position was too low and a smidge too wide.


I modified the pattern and made a beige version.  This photo suggests that I need to make the band a little looser.

 Here, it is being worn under Jalie 2565.  No straps showing!
 
I made this top as a layering piece, using an Eileen Fisher fabric from EmmaOneSock.  I had not heard of Eileen Fisher, but when I looked at her website, she has some great designs for layered dressing.  This fabric is a great "neutral" for me, as I don't  much wear white.

This is how I have been wearing this top.  Hardly seen at all, but the glimpse of colour it offers seems to complete the outfit.

26.7.11

Getting the pattern I wanted

A couple of years ago, I had some success with the Pin-Up Girls "Linda" bra pattern.  When I was placing an order for bra-making supplies earlier this year, I saw that they had produced a new pattern for a demi-bra with front closing, the "Sharon" bra.  It looked pretty similar to the Linda pattern, and I probably could have made the changes myself, but sometimes it is easier to have somebody else do all the work for you, right?  Uh-uh.

I made the pattern up and it didn't fit well at all.


Problems for me
  • To be fair, part of the problem may be that I used a fabric with no give (Duoplex),  and maybe I need a bigger cup on one side.  I ended up with a double boob, and let me tell you, I didn't think I had enough flesh for a double boob.  
  • The straps are made from 5/8" elastic.  The pattern I bought is for A - AAA cups.  Whilst 5/8" may be fine for larger caps, I think it is disproportionate for these cups and I would have prefered that they changed to 3/8" elastic for the smaller cup sizes.
  • Using a 5/8: ring to attached the straps means that this ring is held in place by 3/8" elastic (the armhole elastic), so it is flimsier than a 3/8" ring would be.
  • The straps position is less than flattering.  They are positioned above the BP.  All my RTW bras use a wider position, which I prefer.  
  • I used the recommended wires for this pattern, but they are too short, which I think is part of the reason why the bra rides up at the front when I raise my arms.
I was pretty cranky that I had bought an expensive pattern and wasted good-quality materials on this bra.

I sat down to consider the features that I really wanted in a bra.  This is what I came up with;
  • demi-bra coverage
  • cup with vertical or steeply diagonal seaming
  • back band that curves downward (to take into account the back dart that we put in fitted clothing)
  • 3/8" elastic straps (I know some people prefer fabric straps, but my straps don't fall off and I think that the elastic looks prettier)
  • The other side of the strap ring to be held in place with fabric, rahter than elastic, as this elastic is one of the first places to show wear in my bras. 
  • padding optional
  • back elastic can be connected with either a t-intersection or an integrated strap
I combined several patterns to come up with the pattern I wanted.  The bridge pattern is customised to my shape.  The band piece is from the "Linda" pattern.  For the cups, I was guided by KwikSew 3300 and Elan 540.  I wanted less coverage that the Kwiksew and more than the Elan. 


This is a comparison with the Kwiksew pattern.  I did mess up a bit here.  I assumed that the Kwiksew pattern that I had copied, cut out and left in the envelope was my size, but it was actually a 32A, not a 34A.  I have been using wires for a 34A, which only just fit in.  I made this cup up 4 times before I realised.  Next year, I will modify for longer wires with a wider diameter.  If you click on the photo, you can see that the top of the cup has a different shape.

Here is a comparison with the Elan 540.  Slightly different curvature in the cups, due to mistake mentioned above. 


Here are the completed bras, made using a kit from Bra-Makers Supply.  I like pretty bras, but beige ones are far more practical.  I think that this one is both beige and pretty.  The fit is good and it is comfortable.  Maybe a tad snug around the rib-cage, but the elastic will probably give with a few washes.


I made another one in blue / white.  I thought this combo would be cute, but I actually don't like it as much as the beige one.  Maybe because I haven't finished it off with a satin bow (It took me ages to work out how to make those bows)?

18.7.11

Child's t-shirt refashion


This t-shirt was brought back from a business trip for my daughter.  To the inexperienced shopper, it probably looked about the right size.  The fabric is very stretchy, and the neckline large, so I think it is actually a body-fitting top for a teenager.  She loved it though, so rather than pass it on, I took to it with the scissors.

I used burda style 5/2011 140 as a guide.  I left the hem and side seams as they were, which was the right width and maybe 5 cm longer than the pattern. I cut off the sleeves.  I cut a new neckline, shoulders and armholes.  For the front neckline, I could leave the ribbing attached.  For the back, I removed the ribbing and attached it to the new neckline.  I left the hem and side seams of the sleeve, but cut a shallower sleeve cap, before re-attaching the sleeve.  I used the scraps to make casings and ties.  They are not the neatest or straightest casings and ties, but they will do.
She made the shorts and necklace herself.

16.7.11

Blue Lovelies

 Well this was a fun, little project to lift me out of the doldrums.

I visited a funny, little shop in Cairns recently.  It was one of those treasure-trove-emporiums.  Huge bolts of cheap (and nasty) fabric.  All sorts of weird and wonderful trims.  Elastics.  Zips.  Buttons. I suspect most of them were manufacturing left-overs.

In amongst all this I found some good quality bra elastics and laces, in navy and maroon.  I bought some of the navy odds and ends (though next time I visit I will go in and get the maroon).  They were a great match for the leftovers from the dress in my last post.  The fabric was Mary Nanna's fabric (and still available from EmmaOneSock I found today) and did not match anything in my remnant drawer, so I thought best to use up all the scraps.


Click on the next photo to get a good look at the stretch elastic I used for the sides of the bra.  It is very pretty.


I did not have a blue fastener, so I bought a black one from Spotlight.  This niggled me at first, but then when I designed the knickers, I made the back of them black, which made the black fastener a little less incongruous.

I did have blue sliders and rings, but something went wrong at the top of the bra (in spite of careful planning) and it was too bulky to turn over a ring.  Instead I sewed the elastic directly to the bra.  This means that it is not adjustable, but given that it is custom-made, that doesn't really matter.  It does stop the project being perfect though, which annoys me.  It seems every garment has one, little thing wrong with it. 

I had trouble cutting and sewing accurate seam allowances in the slippery charmeuse.  This led to a poor fit, so I had to unpick a lot of the bra and go again.  The second time around, I sewed a lining to the bridge before cutting it out.  For the main bra pieces, I cut them in Antron jersey and spray basted them to the charmeuse before cutting it out.  This actually gave the bra more of a plush feel, so I did not mind the unpicking in the end.

The pattern was made from an old Elle Macpherson bra from almost 20 years ago.  Those were the days when I used to buy lovely lingerie.  These days, my discretionary spending is all consumed by fabric. 

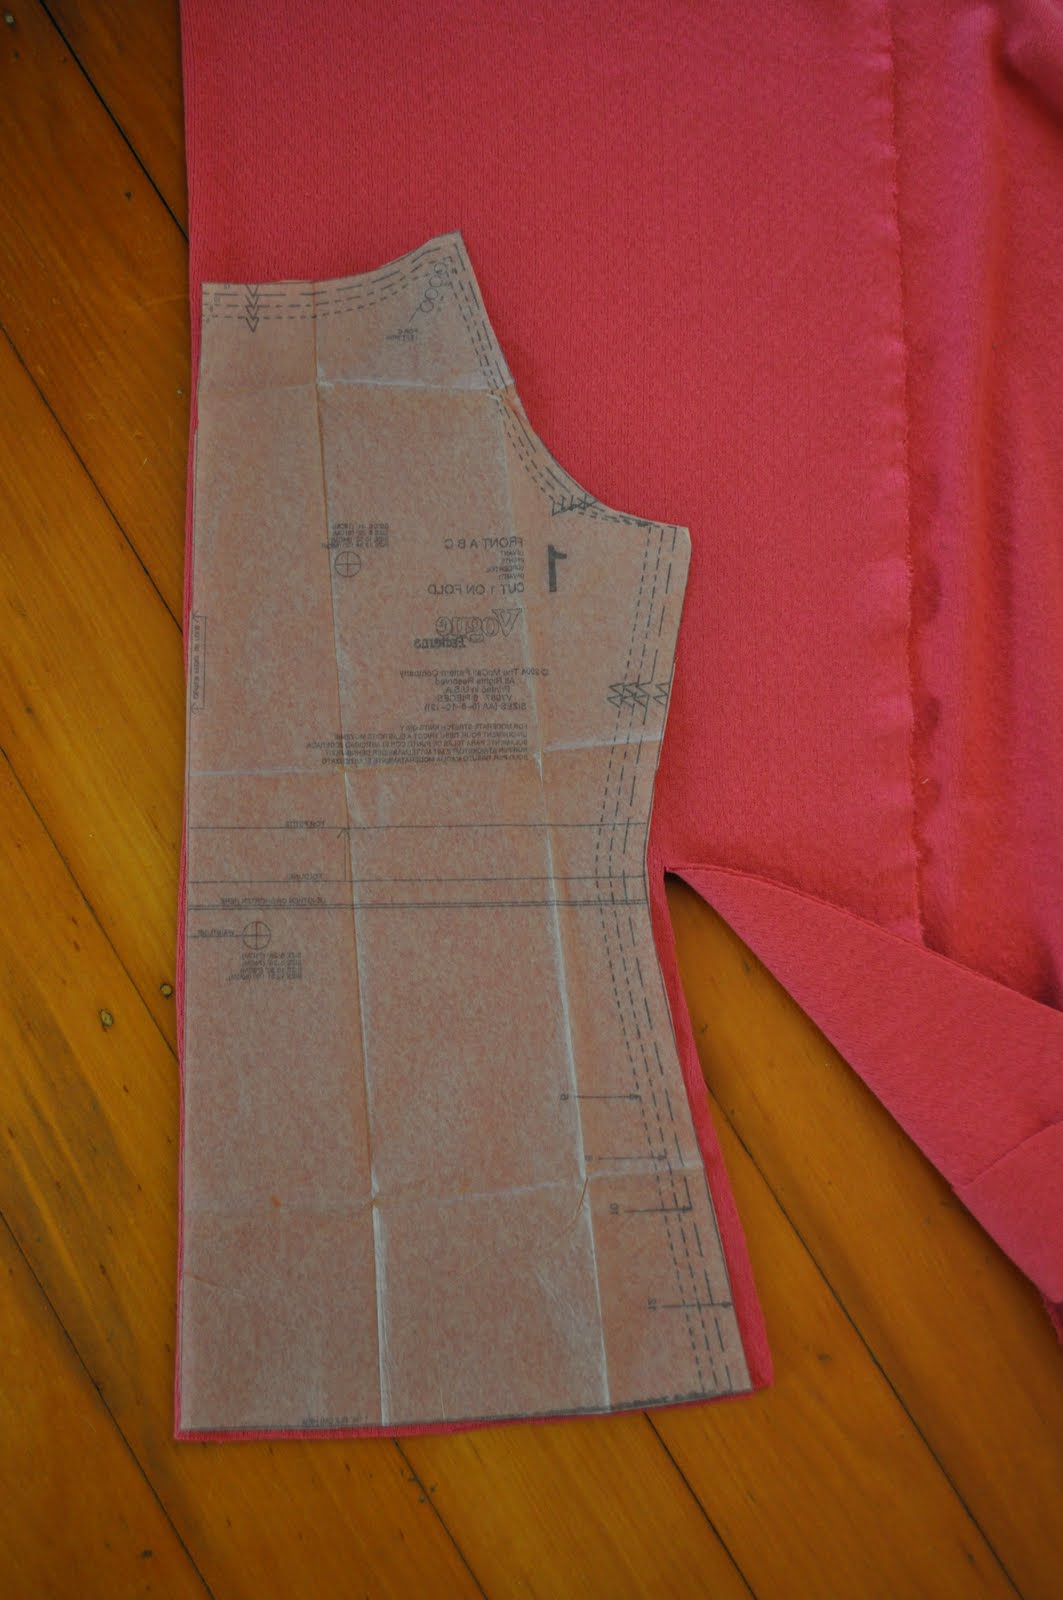
I'll show you a picture of the pattern, because the inner cup piece has an unusual shape.  I checked, and re-checked and checked again when I was making the pattern, lining up the grain, and making sure that the shape was not due to fabric distortion.


The neck edge is pulled in with elastic.


I like this pattern because I can use it to sew scraps of woven fabrics that I love.  Some time ago I made a version from Liberty print.  I don't think that I ever blogged about it, so here is a quick picture (this blog is my primary sewing record after all).


The knickers are my own design. The pattern is based on a swimwear pattern that I drafted myself.  I have used silk charmeuse cut on the bias for a centre panel, stretch lace for the sides, and a soft power net for the back.  The elastic was from a different place to the bra elastics and it caused me a lot of grief.  The thread kept breaking as I sewed it.  It was also tricky getting the elastic right when I was sewing it to 3 very different types of fabric with different amounts of stretch.  The photo of the flat garment shows the elastic all curling up, but my model shows that it sits straight on the body.  I'm very pleased that the scallops matched up on the lace at the front of the knickers.

They are very comfy to wear, which I am pleased about.  Mostly I avoid matching sets because I prefer all cotton, skin coloured knickers, but these are so soft that I will wear them.  And always under that dress.  What's not to love about a matching lingerie and dress set?
 

9.7.11

Vena Cava Dress

How many sack dresses does a girl need?  Well, one more than I already had, it would seem.  Though, I didn't race out and buy this pattern.  I uummed and aahhed and eventually bought it at one of Vogues $3.88 sales.

The fabric is a silk charmeuse from EmmaOneSock.  It is a little different to my usual colours and styles.  I probably bought it because it was fashionable more than anything else, so I wanted make it up quickly rather than pop it in the stash. I dyed my hair dark this week.  Everytime I catch sight of myself I feel like I am wearing a wig, but I am having fun trying different colours and make-up than I typically wear.

The pattern is Vogue 1228.  I made 2 changes to the dress pattern.  First, I cut off the wide sleeve bands and made them narrow bands.  I liked the bands on the pattern, but the dress was less flattering with them on.  I know this, because I am one of those people that try on a dress about 500 times during construction.


The second change was to make the neckline narrower with a series of  pintucks, after the dress was completed.  I didn't muslin the dress; instead I used my sloper to adjust the pattern, after reading this great post by Audrey.  Usually I make a narrow chest adjustment.  I wasn't sure how to do this with the kimono sleeves.  The neck width was the same for Sz 8 through 14, which seemed a little odd, but I went with it.  When I put on the dress, the neckline seemed too wide and my bra was showing at the corners of the neckline.  Pintucks to the rescue, but I think they were a good idea and I would use them again next time.


I tried out a new technique on this dress, that I read about years ago.   After reading the other reviews for this pattern, I left out the zipper.  This meant the construction was all French seams.  For the first pass of the French seam I used my overlocker.  I wouldn't use this for sheer fabrics, but for slippery charmeuse that frays, it works great.

1st pass, wrong sides together, overlocked seam.


2nd pass, right sides together, stitched seam enclosing the overlocking.


Right side completed, nary a frayed thread in sight.


This last photo is really just photographic evidence on this blog that I can smile!  I wore this dress for my daughter's disco party yesterday.  My photographer arrived home after the party had already started, so I was in party mode when we ducked out for half a moment to take these photographs.